After spending months drawing in my sketchbook, I’m reluctant to finish the last page. The completed book is filled with places I’ve traveled, friends I’ve met, and delicious food I’.ve eaten, all wrapped up in memories. But starting a new sketchbook is exciting too. I often think about the places I’ll visit and the people I’ll meet while drawing within its pages. If I’m lucky, I’ll discover a new drawing or painting technique that I’ve never tried before. Although the pure enjoyment of drawing is my main purpose for sketchbooking, I intend to improve my drawing abilities along the way.
I used to draw in Moleskine sketchbooks but now I make my own. Either way, the technique for painting the cover is the same.
- For the base, I paint gesso on the front of the book in a loosely painted rectangular shape, then let it dry. I repeat this two more times, lightly with sandpaper between applications to remove the bumps and brush strokes. Sometimes I add a small dab of color to the gesso to soften its brightness.
- Then, using a dampened paper towel, I rub a small amount of earthy acrylic colors on top of the base to provide visual texture and depth.
- Next, I sketch my subject on the cover in pencil and then draw over my pencil lines in permanent ink. If I make a mistake, I can use sandpaper to remove the offending line and then rub more color into the resulting white area.
- Once my drawing is complete, I paint the shapes with color. Sometimes, for texture, I spatter watered down acrylic paint over the finished piece with a toothbrush to add depth and texture. After letting the cover dry overnight, I’m ready for my next great sketching adventure.
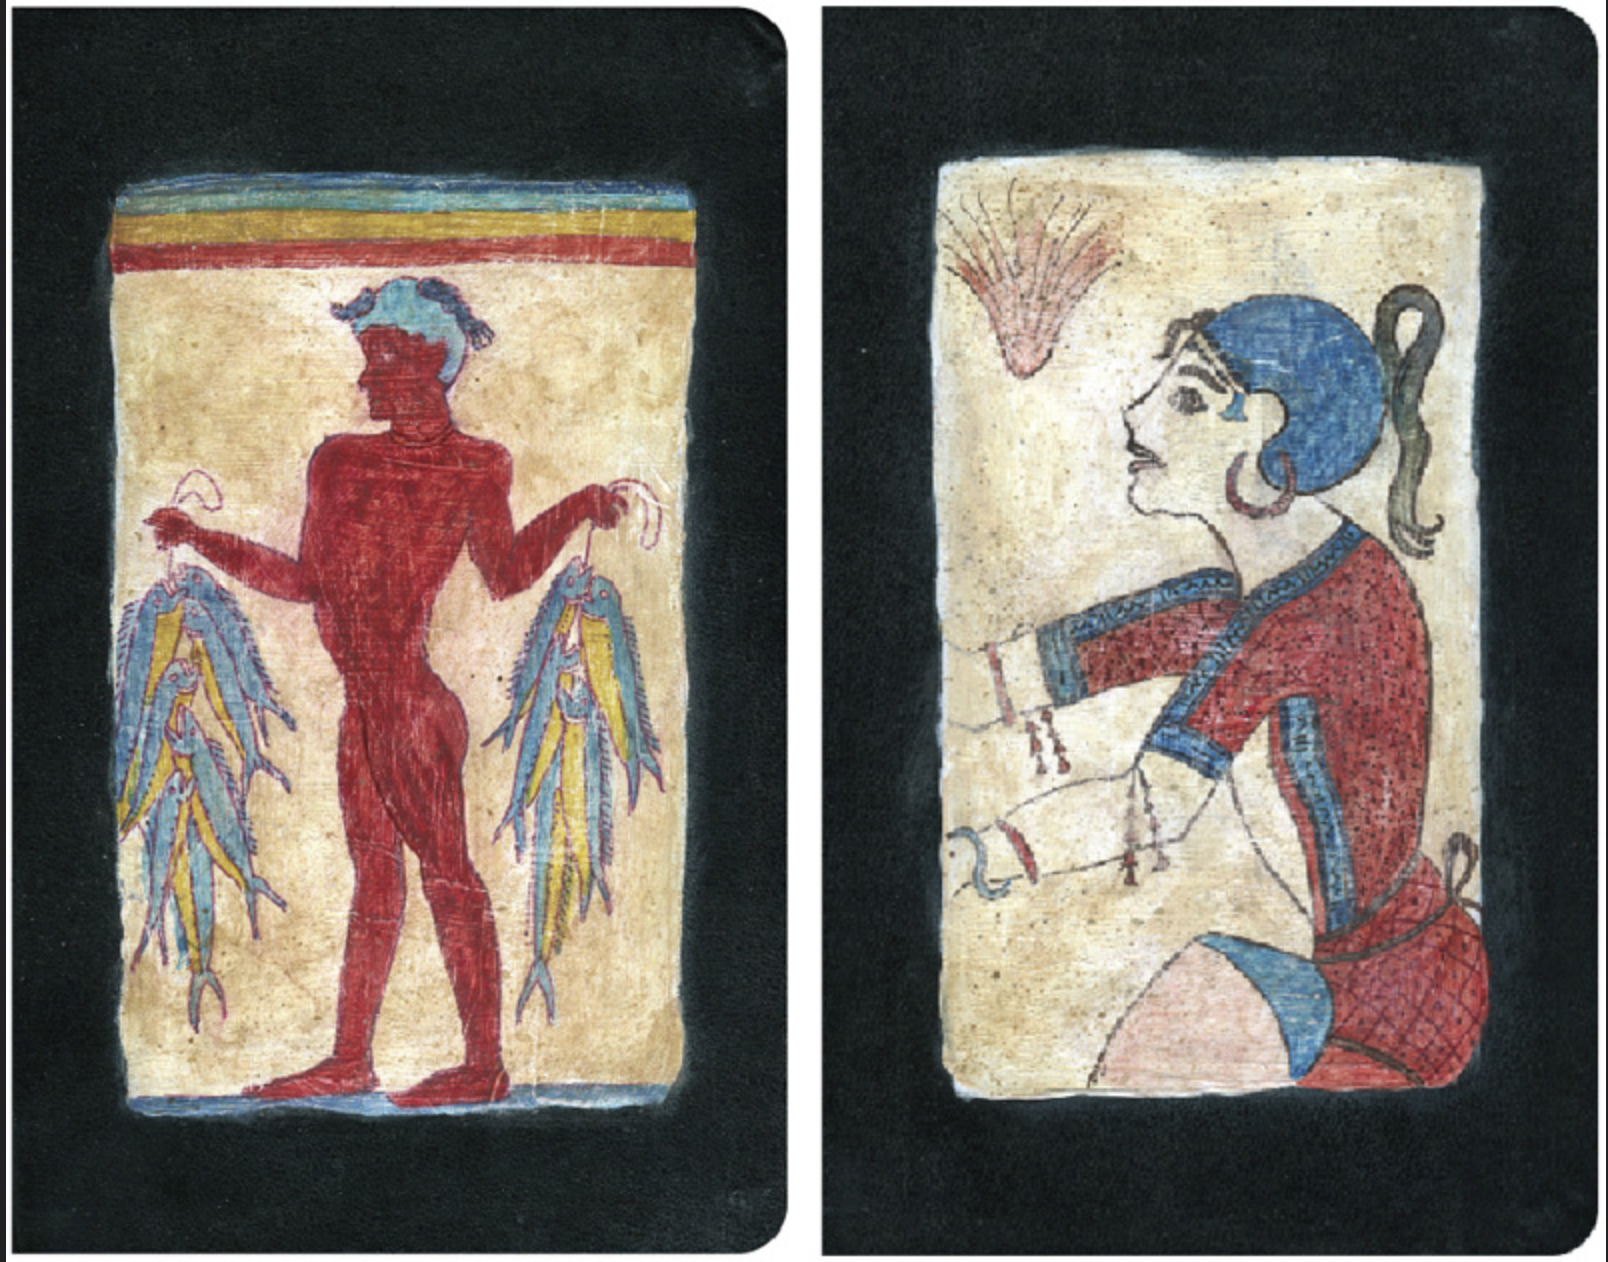
These two sketchbook covers were drawn from photos of the archeological wall paintings of Akrotiri on the island of Santorini, Greece. The original wallpaintings are thousands of years old.